
How to Make Chocolate from Cacao Beans: A Helpful Step-by-Step Guide
We are fortunate to be able to grow cacao here in the tropics; however, our trees are yet to produce fruit. Therefore, we were excited to receive some local organic cacao to experiment with!
We made some cacao nibs and powder and gave chocolate-making a go. You could also make chocolate from cacao beans at home by following our helpful step-by-step guide.
Step 1: Get Some Ripe Cacao Fruit
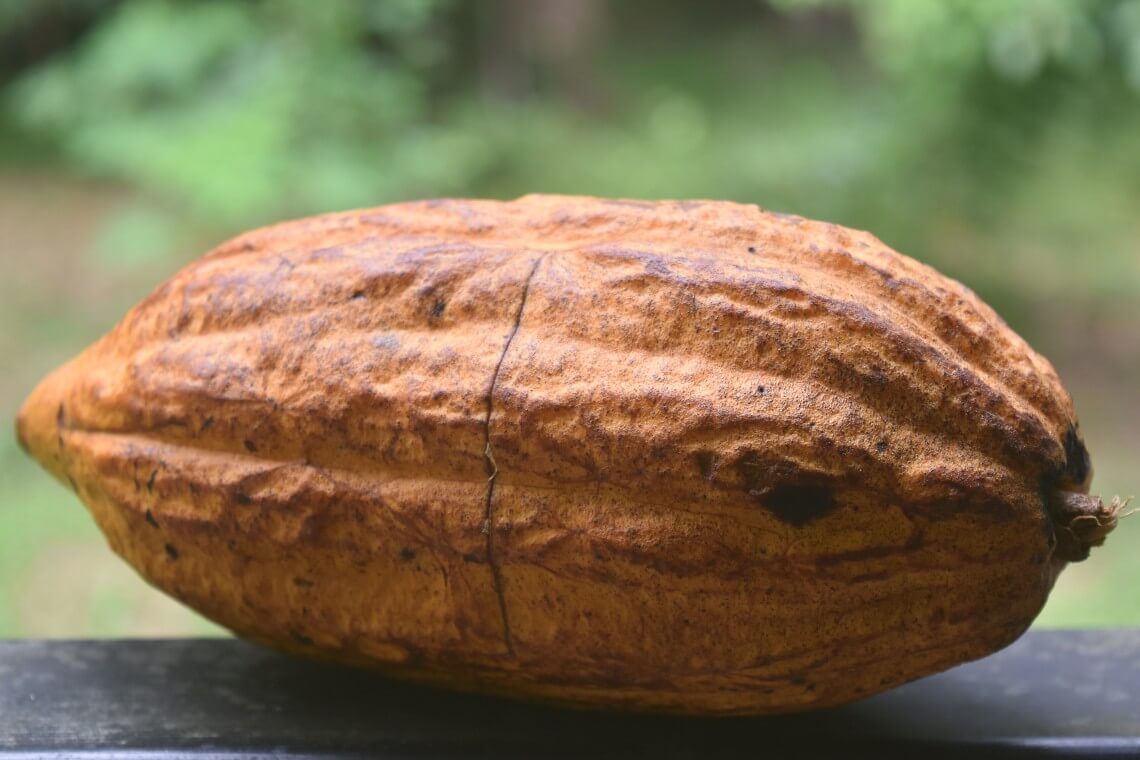
If you want to make chocolate from cacao beans, you will need some ripe cacao pods. Depending on their starting colour, the pods are ripe when they turn dark yellow/orange or red/purple.
You will need a minimum of 5-10 large pods to make a batch of homemade chocolate. Once you have some ripe cacao pods, cut the skin carefully with a knife and crack them in half.
Inside, you will find the cacao beans covered in a white pulp. The pulp has a citrus flavour and is needed to ferment the beans. Once the beans have fermented, you can drink the leftover pulp juice, which is delicious.
Step 2: Ferment the Cacao Beans
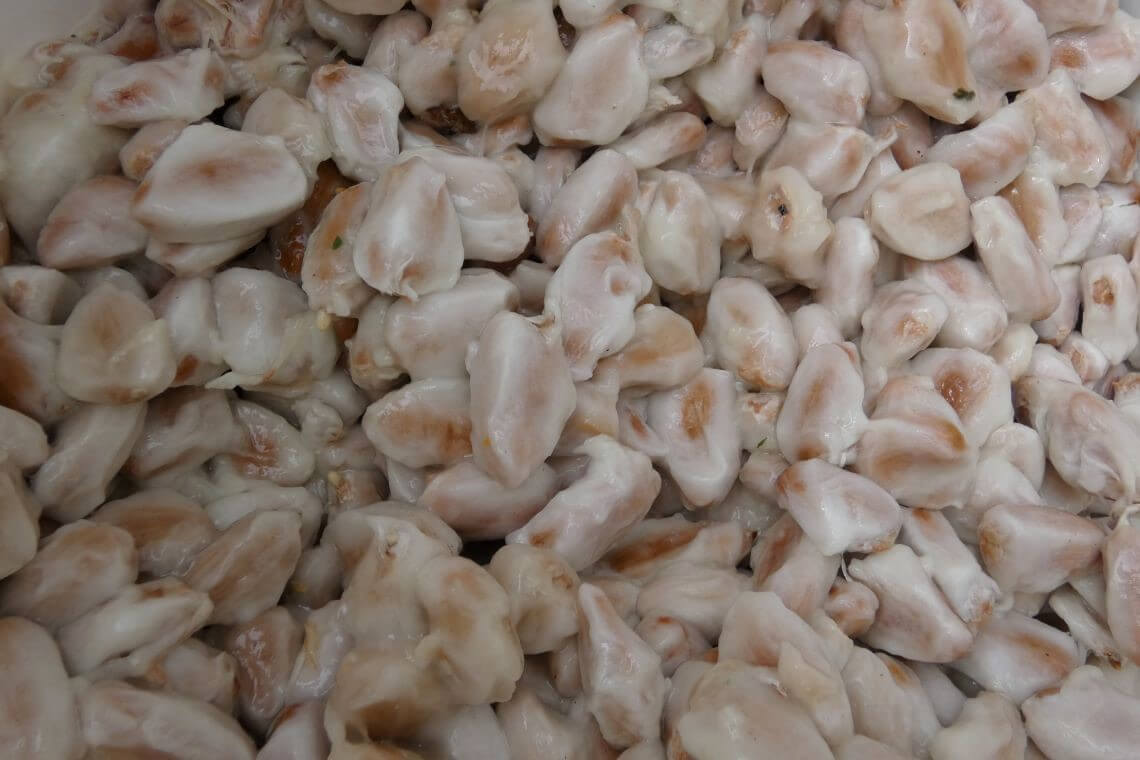
The next step to make chocolate from cacao beans is fermentation. Traditionally, cacao farmers ferment the beans in large heaps or boxes covered in banana leaves. However, any container with a lid will do.
We used a polystyrene box with a tap. The tap allowed us to pour off excess pulp juices during fermentation, but a bucket would work just as well. To ferment the beans, scoop them from their pods and put them in a container with the pulp.
Place the container in a warm spot and stir the beans daily. The fermentation process will take about a week. A combination of heat and microbes in the pulp, such as yeast and bacteria, causes the fermentation.
Keep an eye on the beans; they will go rancid if left too long or unstirred. The raw beans turn reddish-brown inside once they are ready to dry. Cut some beans in half to see if they are the right colour.
Step 3: Rinse the Cacao Beans
The cacao beans must be dried after fermentation to reduce their moisture content. Drying the beans will intensify the chocolate flavour and will prevent them from going mouldy.
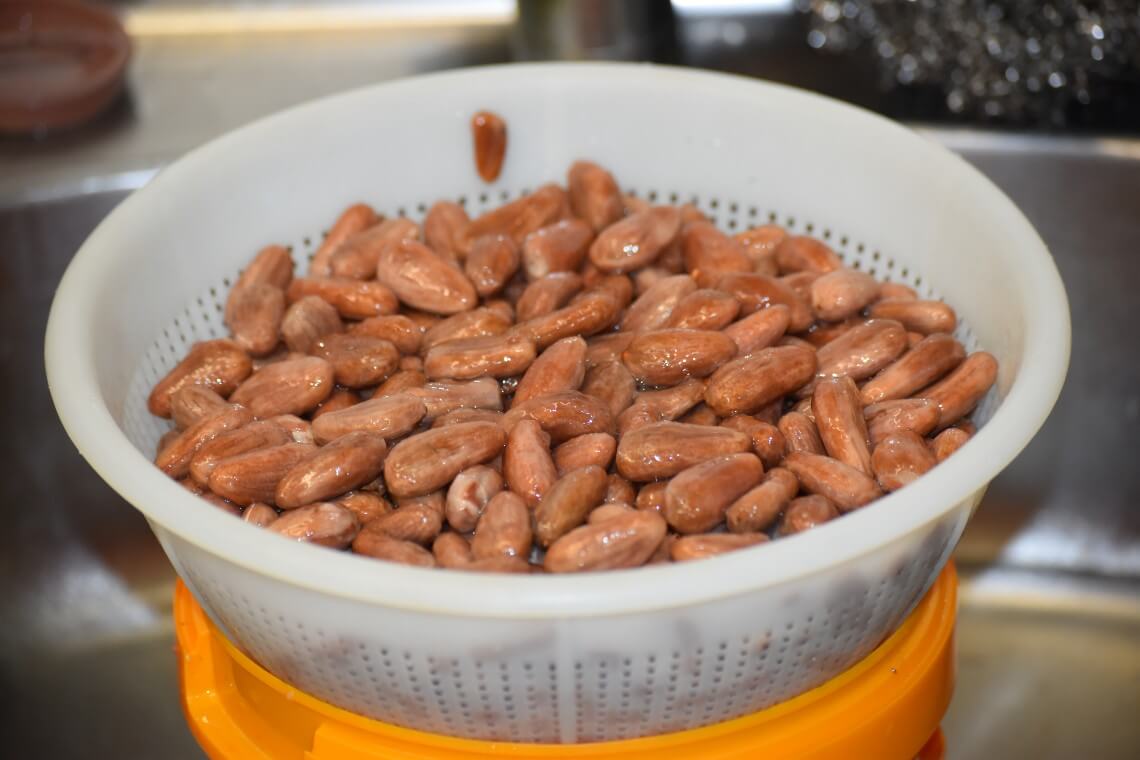
Before drying the beans, place them in a sieve to drain off any remaining fermentation liquid. Once the liquid has drained, put the sieve under a running tap and rub off the leftover pulp.
The beans will be pretty wet at this stage. You can give the drying process a head start by patting the beans dry with an old towel. You will then be ready to lay them out to continue the drying process.
Step 4: Dry the Cacao Beans
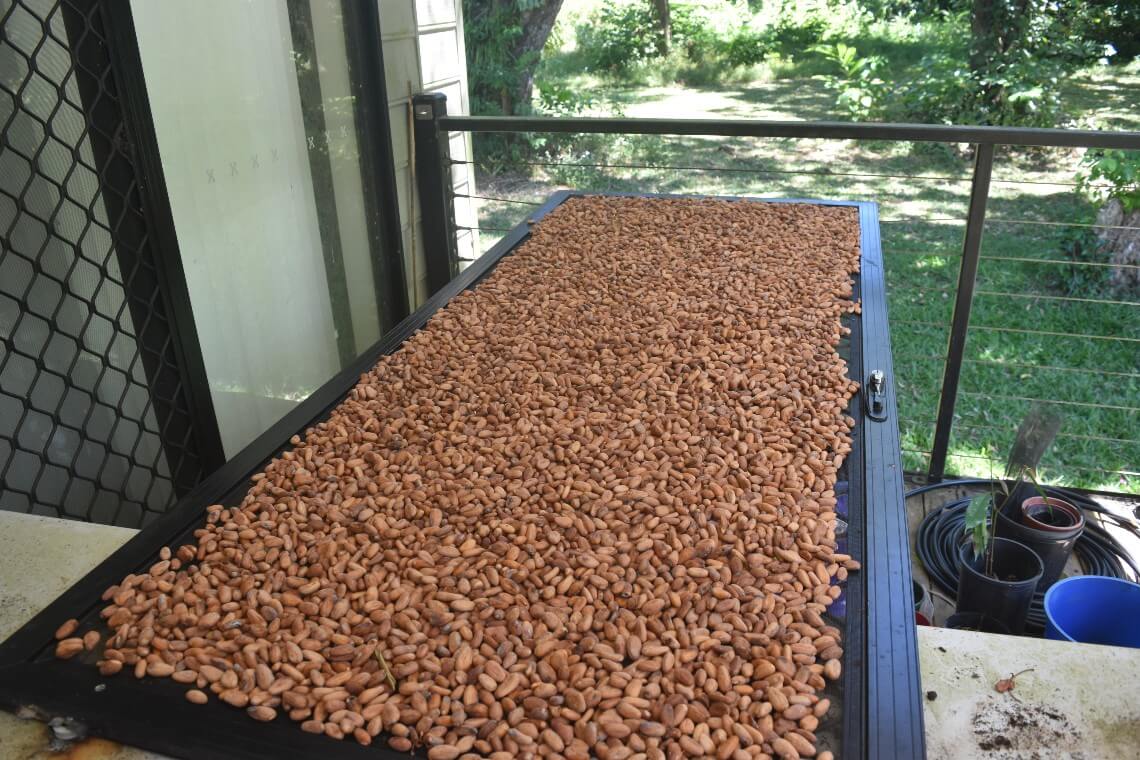
Dry the beans by spreading them out in a single layer on a mat or rack. Put the mat or rack in a sunny or well-ventilated, warm place. You could also dry the cacao in a dehydrator if you want to.
We used a tarp on the ground when the sun was out and a fly-screen on our deck when it wasn’t. You can make a drying rack, but we improvised using one of our fly-screen doors.
It will take one or two weeks to dry your beans, depending on how humid and hot it is where you live. You should turn the cacao regularly to make sure they dry evenly. The beans are dry when you can crack the shells.
Be cautious, though, because if you dry the beans too quickly, they can become acidic. Natural methods of drying can be easier to control than using a dehydrator. You also want to keep the beans intact for roasting.
Step 5: Roast the Cacao Beans
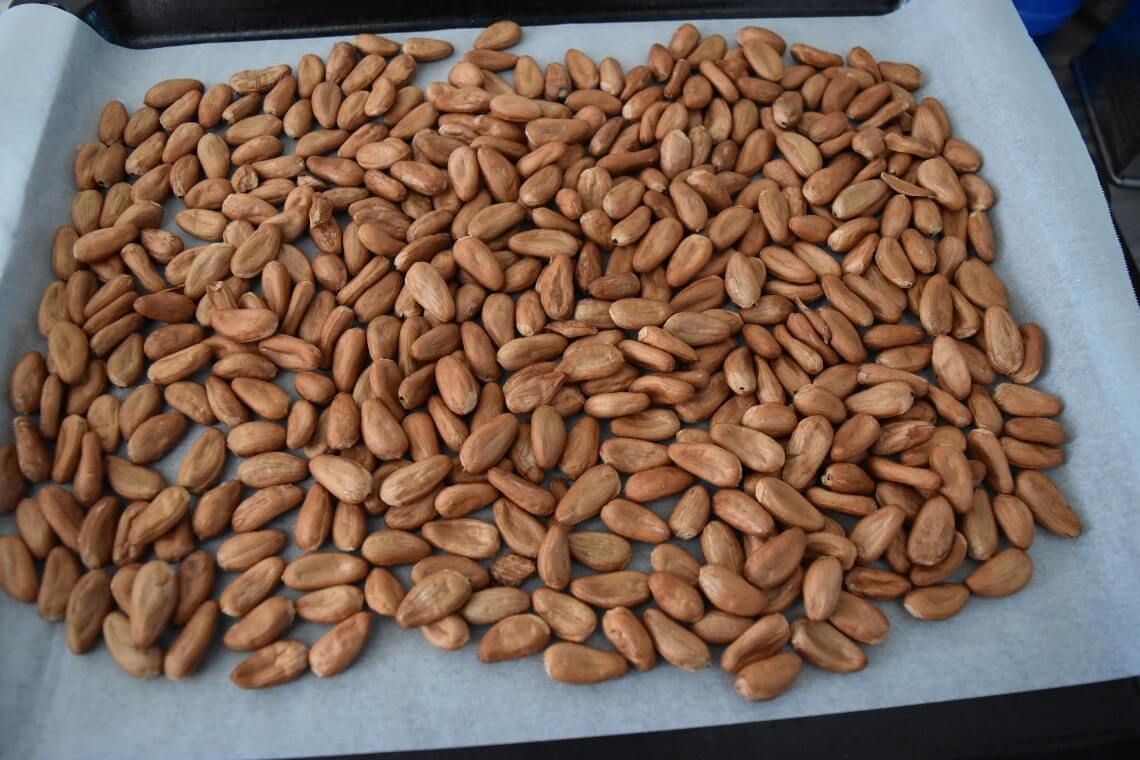
You can eat the ‘raw’ cacao beans straight after drying. However, to make chocolate, it is preferable to roast the beans. Roasting kills bacteria, makes it easier to shell the cacao beans and develops the chocolate’s flavour.
How long you roast the beans for and at what temperature will be a matter of taste and trial and error. A light roast is around 100°C-120°C, a medium roast 120°C-140°C, and a dark roast 140°C-160°C.
We preheated our oven to 120°C, spread the beans on a baking sheet and baked for 25 minutes. Watch your beans closely; remove them from the oven if they start to ‘crackle’. The beans should have darkened in colour and will now smell like chocolate.
Step 6: Crack and Winnow the Cacao
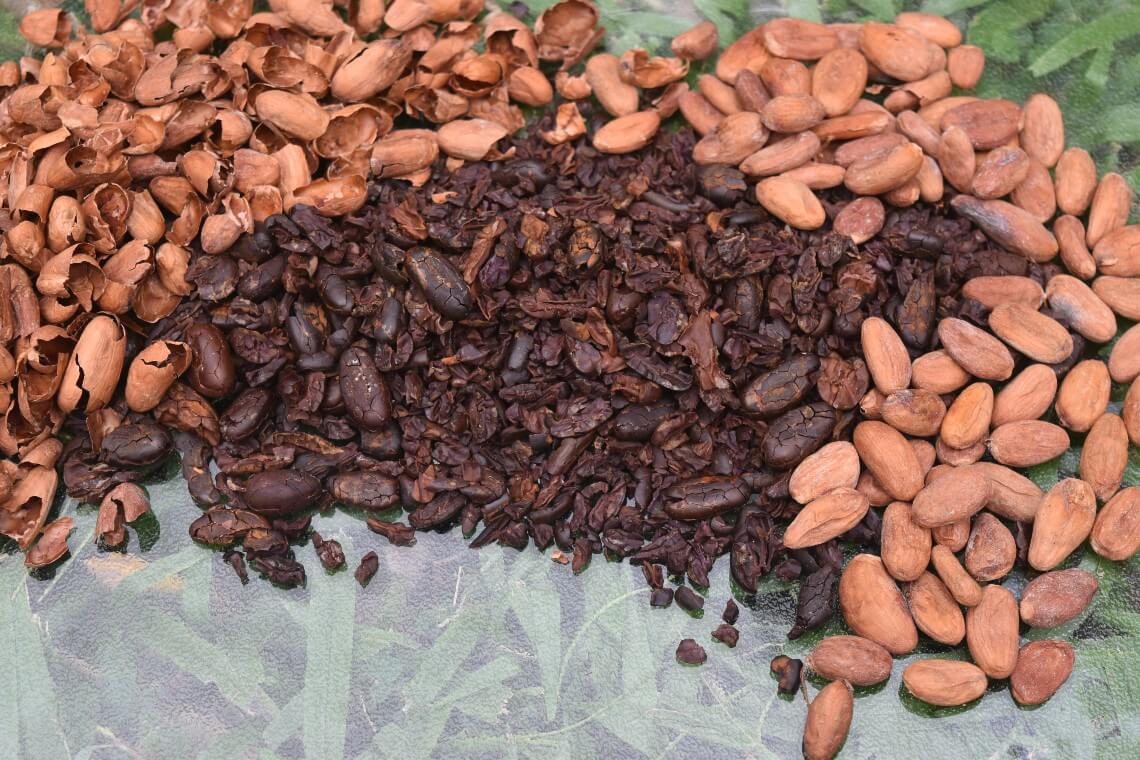
The cacao husks are bitter; you must separate them from the beans before making chocolate. You can remove them manually by rolling the cacao between your fingers. However, this takes time.
You could also try cracking and winnowing the shells. Winnowing uses air to separate the lighter husks from the heavier beans. You can use a fan or even a hairdryer for this process.
First, crack the shells using a rolling pin or similar. Then, pour the cacao beans into a bowl before a fan or hairdryer, letting the husks blow onto the ground. Repeat this process until there are no more shells left.
Step 7. Grind the Cacao Beans
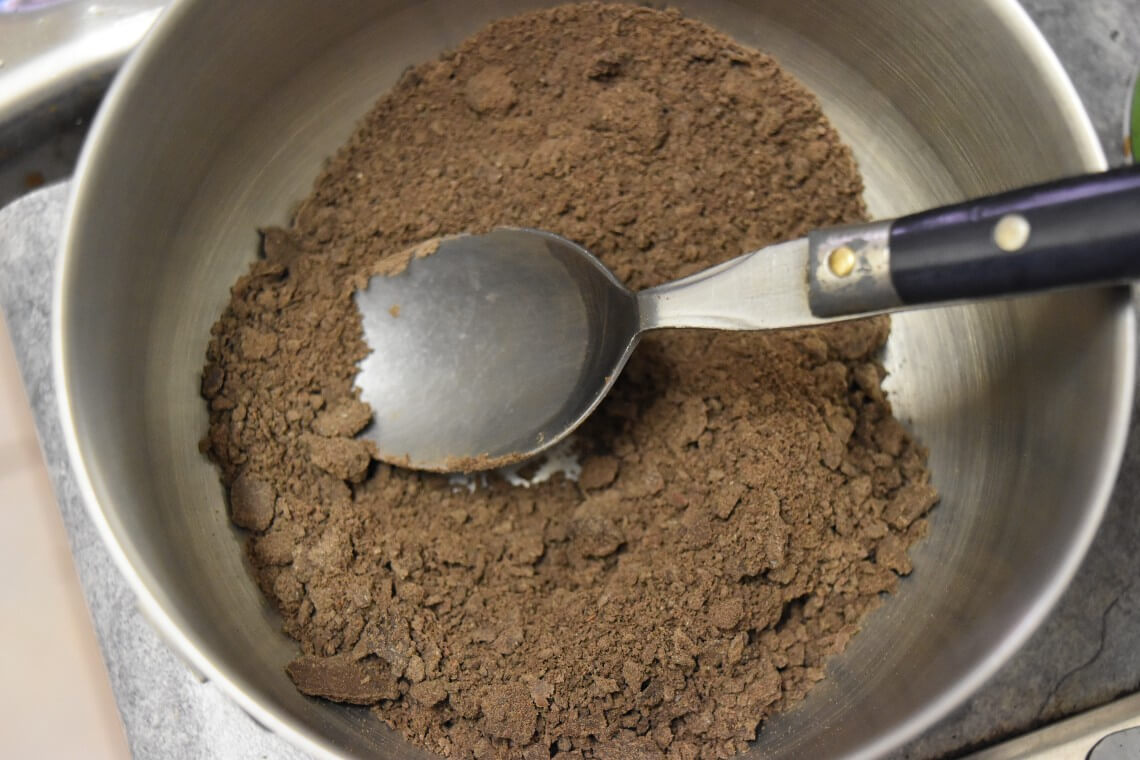
Once you have removed the husks from the cacao, they are ready to grind. It is a good idea to pre-grind the beans in a food processor. Pre-grinding will make it easier to create your chocolate ‘liquor’.
The resulting powder contains 50% cocoa solids and 50% cocoa butter. It looks like cocoa powder. However, commercial cocoa powder is processed further to remove the cocoa butter.
After pre-grinding the cacao beans, put them in a coffee grinder or mortar and pestle and continue blending until you get a paste. The chocolate liquor will have a grainy texture at this stage.
Step 8: Conch Your Chocolate Liquor
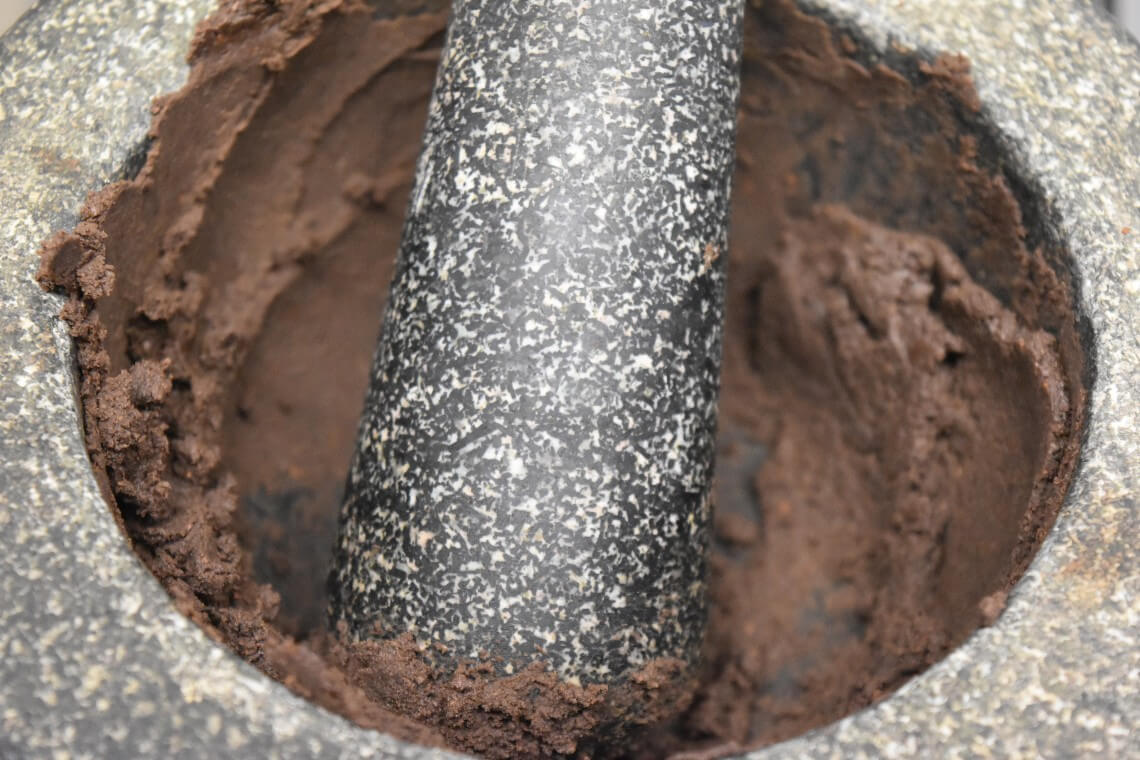
Conching refines the texture and flavour of chocolate by continuously grinding and aerating it. Conching is optional when making homemade chocolate but will improve the “mouth feel”.
To mimic the conching process at home, use a wet grinder or melanger. Mix your liquor in the machine for up to 48 hours. Otherwise, continue processing it in your coffee grinder or pestle and mortar for as long as possible.
During the conching stage, you can add sugar and other dry (never wet) ingredients to your liquor, e.g. salt, spices or milk powder. To make a 70% dark chocolate bar, use a ratio of 70g of liquor to 30g of sugar.
Step 9: Temper Your Chocolate
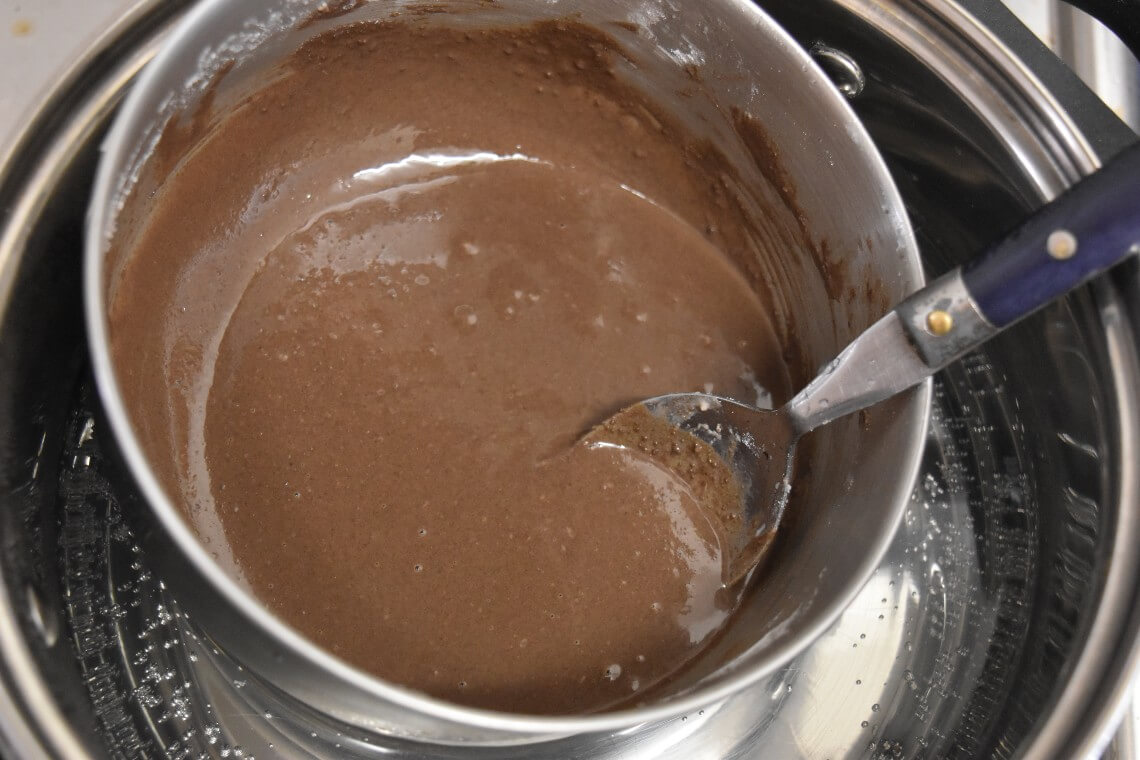
Tempering makes your chocolate shiny, firm, and stable by setting the crystals in the cacao butter. Tempering is how chocolate gets that satisfying snap. Again, this is an optional step at home.
Start by melting your chocolate in a double boiler. For dark chocolate, you want it to reach a temperature of at least 46°C. Use a thermometer to keep track. Then, cool it down to 28°C by spreading it onto a cool surface.
Once cooled, gently heat it back to 31–32°C. Now it’s tempered. You’ll know it’s ready when it looks smooth and glossy. When it hardens, snap a piece. It should break cleanly, without bending.
Step 10: Pour and Store Your Chocolate
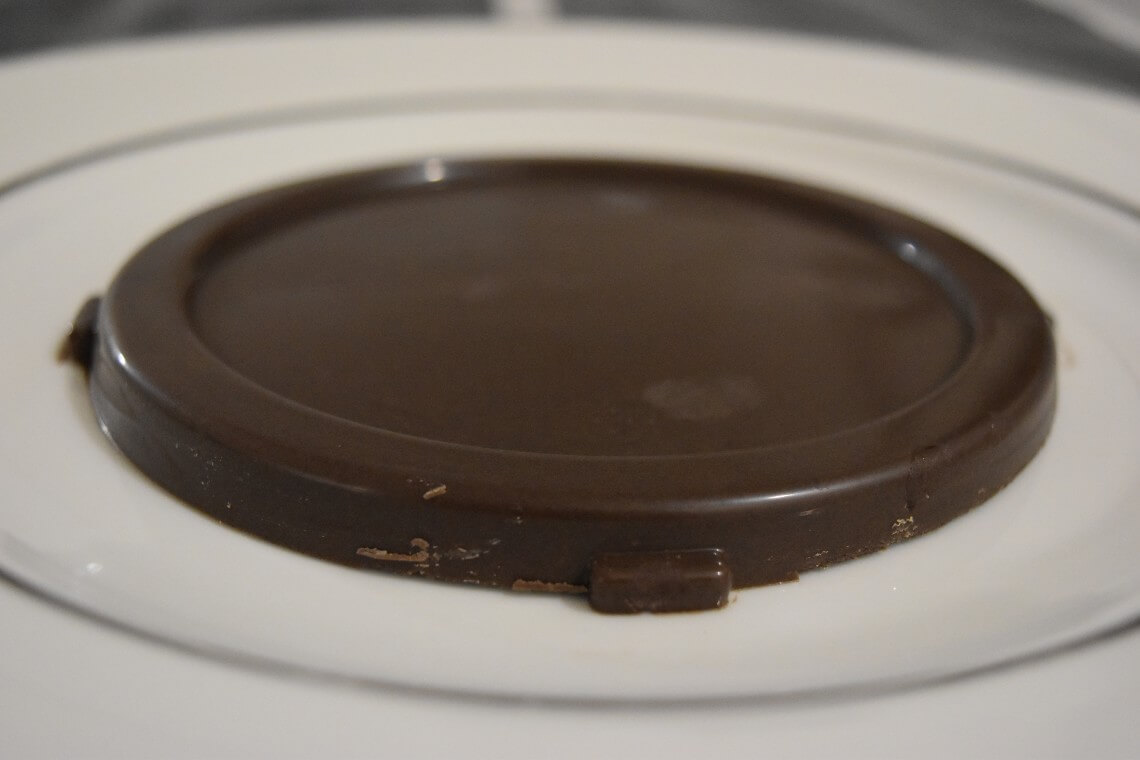
Once tempered, you can pour the chocolate into a mould and allow it to cool. You can also add other ingredients, such as fruit and nuts. Congratulations, you now know how to make chocolate from cacao beans!
Homemade chocolate is delicate. Avoid keeping it in the fridge unless it’s very hot outside, as it can cause a white bloom on your chocolate. Unfortunately, we have no choice here in the tropics.
You should also keep your chocolate away from strong smells. It absorbs them quickly. A sealed container works well. If you store your chocolate correctly, it will stay fresh for weeks.
Make Chocolate From Cacao Beans
Chocolate-making can be a complex process. However, following this step-by-step guide, you can make chocolate from cacao beans. Experiment with different roasting times and additional flavourings to perfect your creation.
With patience and practice, you'll gain a deeper appreciation for the art of chocolate-making. So gather your ingredients, roll up your sleeves, and make chocolate from cacao beans at home today!
