
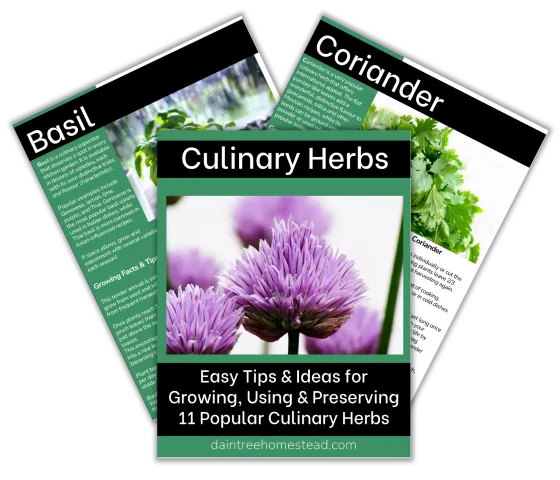
Easy Tips & Ideas for Growing, Using & Preserving Herbs
Ready to elevate the taste of your meals and take your cooking to the next level? Grab our free e-book for some easy tips and ideas for growing, using and preserving 11 popular culinary herbs.
Latest on the Blog
13 Benefits of Growing Your Own Food (And Why You Should Start Today)
In this post, we explore 13 benefits of growing your own food—from saving money to boosting your health and reconnecting with nature —to inspire you to get out in your garden today! ...more
Sustainable Homestead
July 09, 2025•8 min read
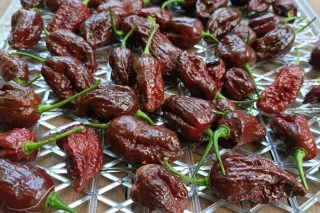
Chocolate Bhutlah Peppers: Think You Can Handle Their Intense Heat?
If you think you can handle hot chillies, you may need to think again—meet the fiery Chocolate Bhutlah pepper. This exceptional chilli variety will challenge your taste buds and ignite your senses. ...more
The Tropical Garden
June 13, 2025•8 min read
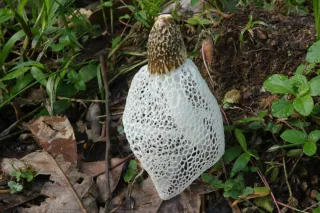
Bridal Veil Stinkhorn: Is It a Foul Pest or Welcome Garden Ally?
The bridal veil stinkhorn is one of the strangest fungi you’ll find in the rainforest. And the smell? Well, it’s not pleasant. But what is it exactly? And should you remove it from your garden? ...more
Daintree Rainforest
June 06, 2025•5 min read
Aeroponics, Hydroponics and Aquaponics: Which New Growing Method Is Superior?
In this post, we're diving into the world of soilless gardening. We will compare three popular methods: aeroponics vs hydroponics vs aquaponics. Each method has its unique advantages and disadvantages... ...more
Sustainable Homestead
May 09, 2025•8 min read

Kangkung: How to Grow, Harvest & Enjoy This Unique Healthy Veggie
Kangkung, also known as kangkong, water spinach and morning glory, is a staple in many traditional Asian dishes. It is a versatile and easy-to-grow vegetable with lots of health benefits. ...more
The Tropical Garden
April 15, 2025•10 min read

Going Green: 52 Easy & Inexpensive Ways to Green Up Your Life
There are many effective ways of going green. Need some ideas? Here are 52 easy and inexpensive ways to green up your life, protect the environment and reduce your carbon footprint. ...more
Greener Living
March 27, 2025•19 min read
Facebook
Pinterest